Additionally, growing roses at home provides an opportunity to control the growing environment, ensuring optimal conditions for your plant. This can lead to healthier growth and more vibrant blooms. Moreover, the process of nurturing a plant from a cutting to a mature tree can be incredibly rewarding, offering a sense of accomplishment and a deeper connection to nature.
2. The Science Behind Growing Roses in Water
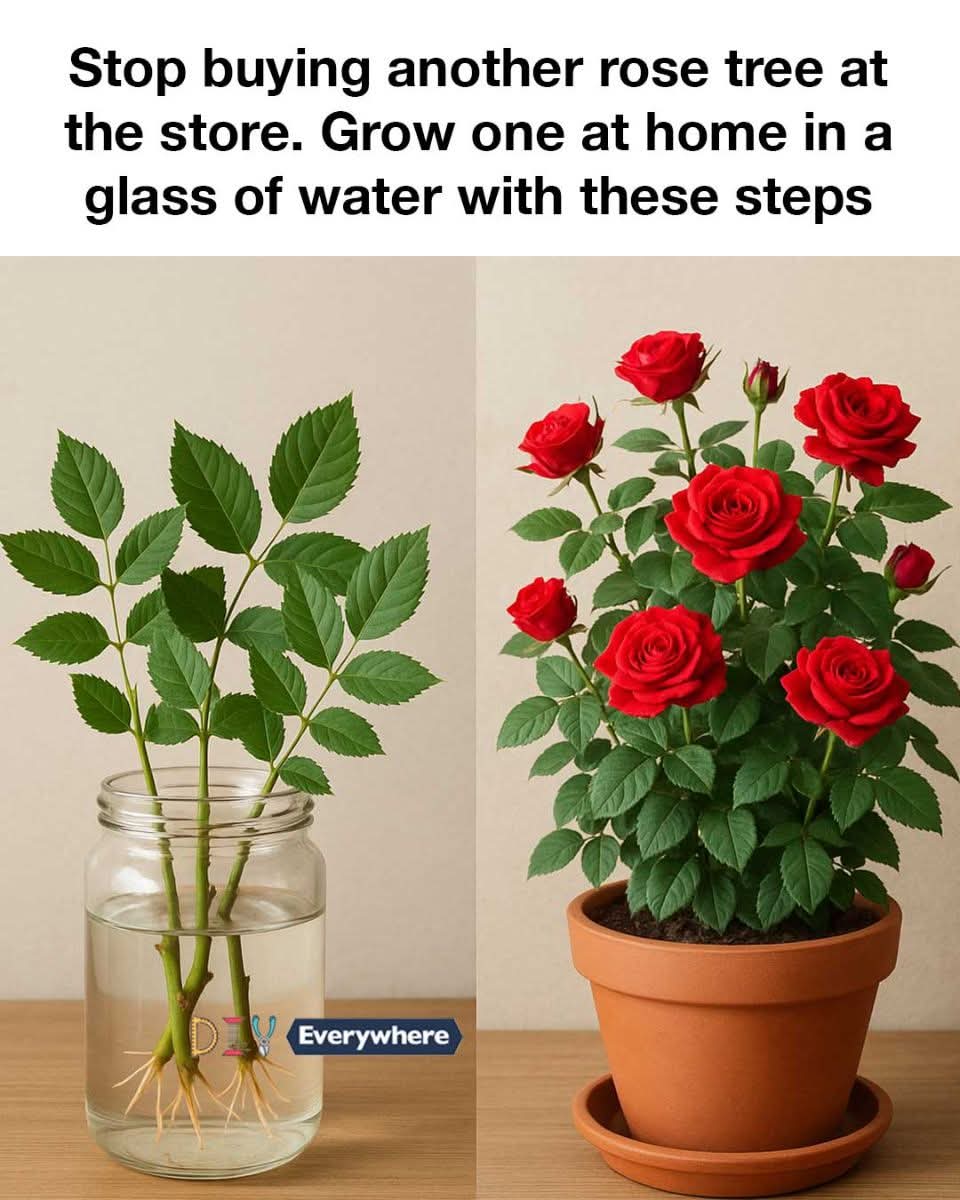
The process of growing roses in water is based on the principle of vegetative propagation, where a new plant is grown from a fragment of the parent plant. This method relies on the cutting’s ability to develop roots in a water medium, a process facilitated by the presence of natural plant hormones called auxins. These hormones stimulate root growth and help the cutting absorb nutrients and water.
When a rose cutting is placed in water, it begins to form callus tissue at the cut end, which eventually develops into roots. The water provides a stable environment that supports this root development, allowing the cutting to establish itself before being transferred to soil. The key is to maintain the right conditions, such as temperature and light, to encourage successful rooting.
3. Essential Materials Needed to Start
To begin growing a rose tree in water, you will need a few basic materials: a healthy rose cutting, a clean glass container, and fresh water. It’s important to choose a glass container that is tall enough to support the cutting and allow room for root growth. A clear glass is preferable, as it allows you to monitor the development of the roots.
In addition to these primary materials, you may also need a pair of sharp pruning shears to take the cutting, and optionally, a rooting hormone to enhance root development. While not necessary, rooting hormone can increase the chances of successful propagation by providing additional auxins to the cutting.
4. Choosing the Right Rose Cutting
Selecting the right rose cutting is crucial for successful propagation. Look for a healthy, disease-free rose stem that is about 6 to 8 inches long and has at least three to four leaf nodes. The cutting should be taken from a mature rose bush, ideally from a stem that has recently bloomed and is beginning to fade.
It’s best to take the cutting in the morning when the plant is well-hydrated. Use sharp, clean pruning shears to make a diagonal cut just below a leaf node, as this is where new roots are most likely to form. Remove any flowers or buds from the cutting to direct the plant’s energy towards root development.
5. Preparing the Rose Cutting for Propagation
Once you have your rose cutting, it’s important to prepare it properly for propagation. Start by removing the lower leaves, leaving only a few at the top to support photosynthesis. This reduces water loss and encourages the cutting to focus on root growth.
If you are using rooting hormone, dip the cut end of the stem into the powder or gel, tapping off any excess. This step is optional but can enhance the rooting process. After preparing the cutting, it’s ready to be placed in the glass container filled with water.
6. Setting Up Your Glass Container
Choose a clean glass container that is tall enough to support the cutting without submerging the leaves. Fill the container with fresh, room-temperature water, ensuring that the bottom two inches of the cutting are submerged. It’s important to use non-chlorinated water, as chlorine can inhibit root